
Oracle Container Cloud Service is Oracle’s entry into the world of managed container service. There are plenty of existing options:![]()
- Docker for AWS or Azure
- Amazon Elastic Container Service
- Google Container Engine
- Azure Container Service
- DC/OS by Mesosphere
- OpenShift by Red Hat
This blog will explain how to get started with Oracle Container Cloud Service. A comparison of different managed services is started at Managed Container Service.
Before we jump into all the details, let’s try to clarify a couple of things about this offering from Oracle.
First, a bit about the name. “Oracle Cloud Container Service” seems more natural and intuitive since its a Container Service in Oracle Cloud. Wonder why is it called “Oracle Container Cloud Service”? Is it because “Oracle Container” is Oracle’s container orchestration framework and its a Cloud Service? Could that mean other orchestration frameworks be offered as a service as well?
Second, don’t confuse it with Oracle Application Container Cloud Service that allows to build cloud-native 12-factor applications using polyglot platform. Now, that confuses me further. Can the Container Service not be used to build 12-factor apps? Are cloud-native and containers mutually exclusive?
Anyway, this is causing more confusion than clarification :) Let’s move on!
One last thing before we dig in. Many thanks to Bruno Borges (@brunoborges) for pushing the buttons for cloud service activation. I don’t know the normal time for the free trial to be activated otherwise. And a much bigger thank to Mike Raab (@mikeraab) for helping me understand the details of Container Service.
UPDATE: A video explaining all the steps is now available:
Let’s get started!
- Get a Free Trial for Oracle Cloud. It takes a few days for the trial to be activated. The trial time bombs after 30 days so make sure you’ve time planned for evaluation. Each free trial comes with 6 OC3 nodes. OC3 is one of the compute node types available on Oracle Cloud. OC3 particularly is 1 OCPU (think vCPU on Amazon Web Services) and 7.5 GB RAM.
- Once the account is activated, you get an email as shown:

The important piece of information isusername,temporary password,identity domainandMy Services URL. TheMy Account URLlink is only for account administration. - Click on My Service URL, login using the values from email:
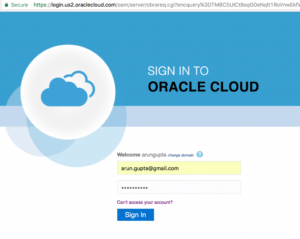
You get an opportunity to change your password afterwards - Oracle Cloud dashboard shows up after logging in:
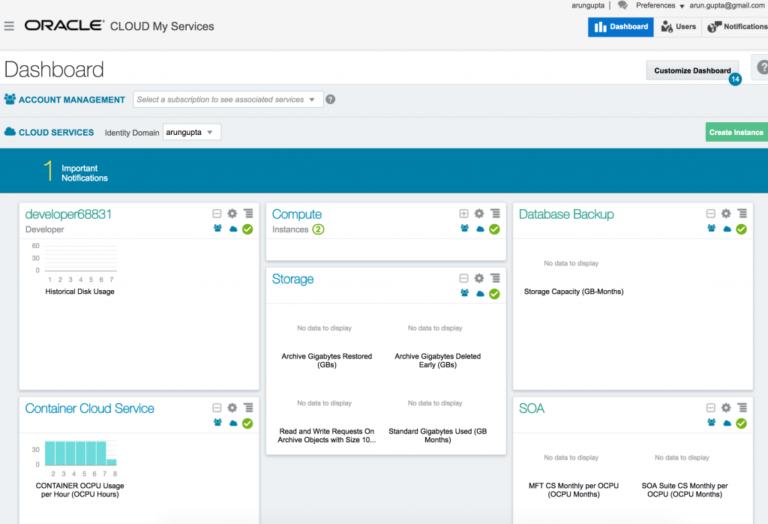
A default set of services and their status is shown. The dashboard can also be customized by clicking onCustomize Dashboardbutton on the top right. - Getting to Oracle Container Cloud Service Console is a bit non-intuitive but you get it once you know it. Select Container Cloud Service tab, click on top-right corner and select
Open Service Console
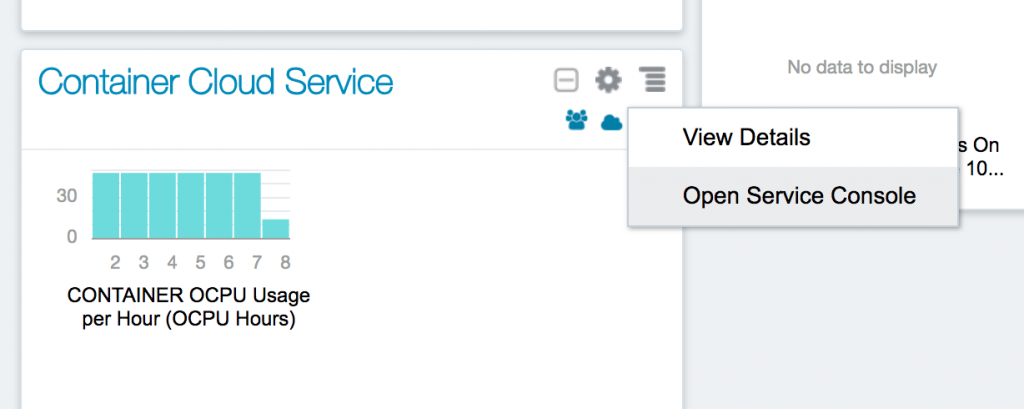
Or you can directly click on the link for Oracle Container Cloud Service Console in the welcome email. Service console looks like:
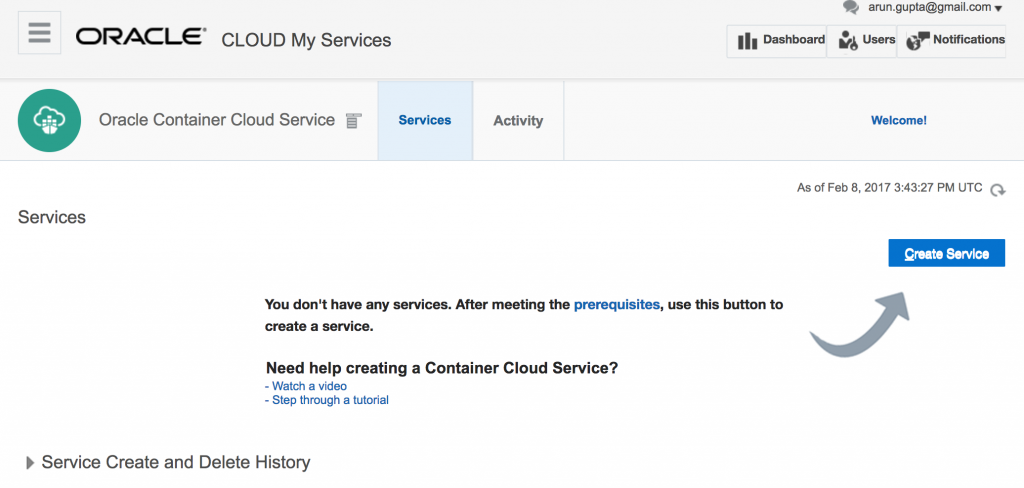
- Click on Create Service:
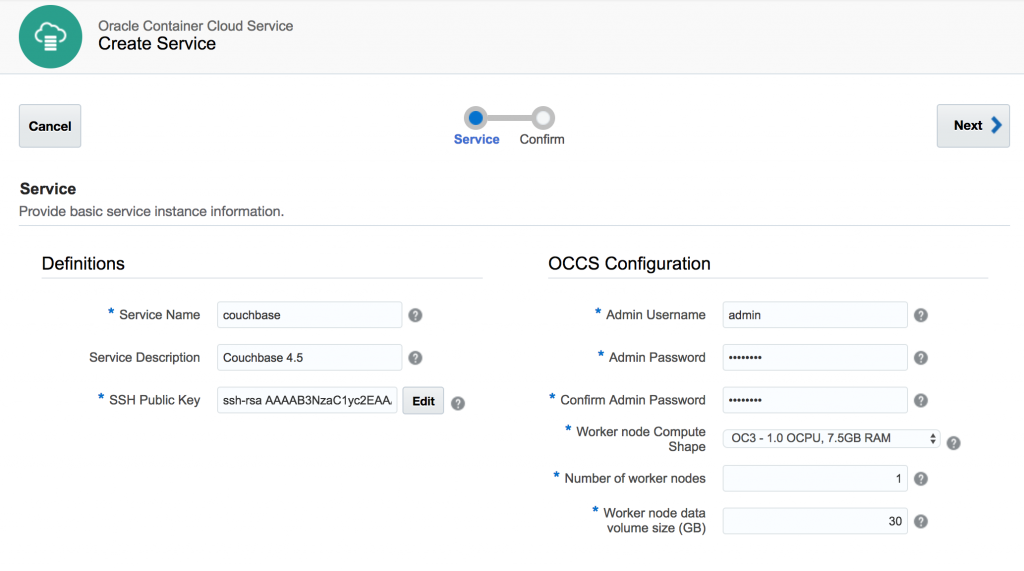
Oracle Container Container Service Instance Details provide more details about each of the field.
What is a worker node? We’ll talk about it a bit later. But essentially this is where the container runs. We are asking for only one worker node.
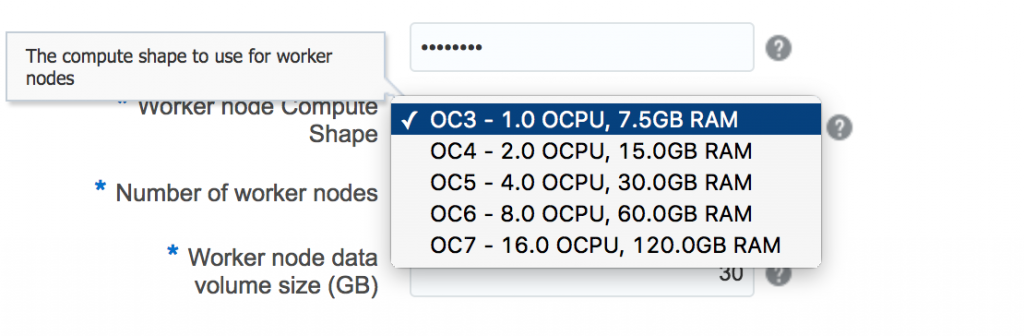
Its worth noting different capacities for the worker node:
Confirm all the settings:
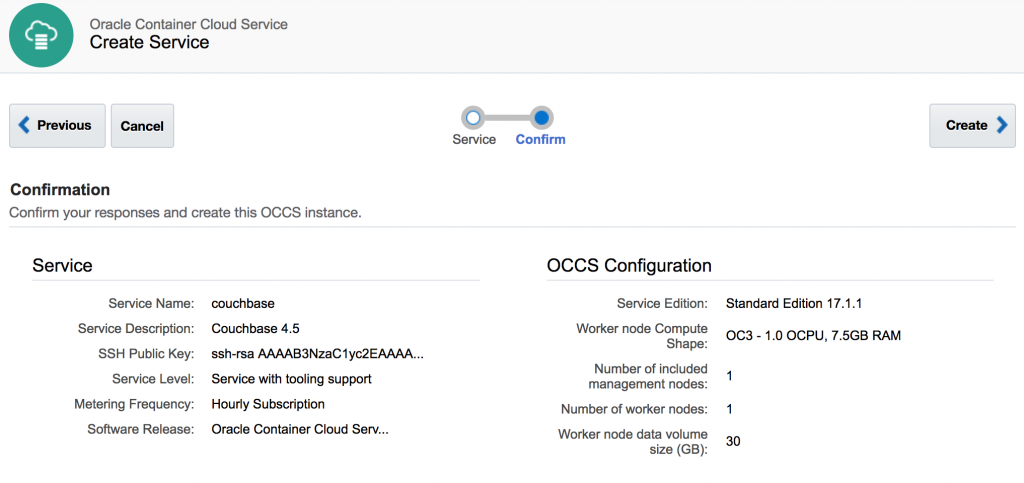
and click onCreate>to start the service creation. - Wait for about 30 minutes for the service to be created. After that the Service Console looks like:
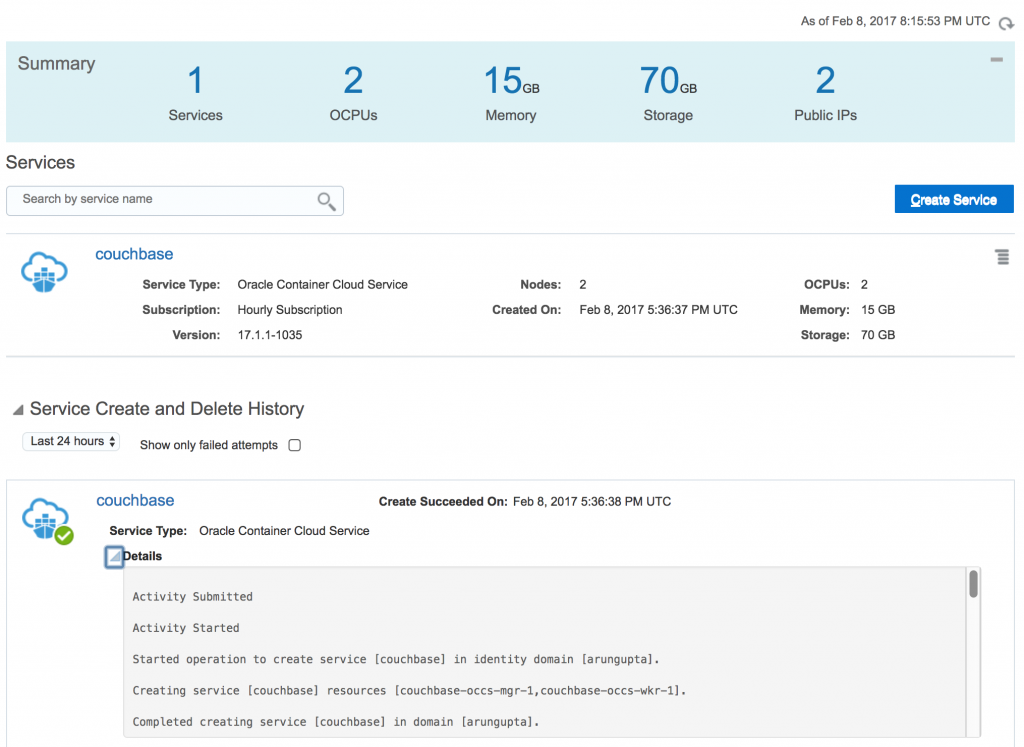
Wait, we asked for one worker node and how come two OCPUs are being consumed.
Each Oracle Container Cloud Service has at least two nodes – a manager node and one or more worker nodes. Manager node is responsible for administration of all the workers and and orchestrate containers on different worker nodes. Worker nodes can be organized in different resource pools to meet different workflow needs. And, so ~30 minutes are spent provisioning two nodes and installing container service components on each node. This is also evident in the service logs shown inService Create and Delete Historyshown in the main Console page:
1234567891011121314151617181920212223242526272829303132333435363738394041424344454647484950515253Activity SubmittedActivity StartedStarted operation to create service [couchbase] in identity domain [arungupta].Creating service [couchbase] resources [couchbase-occs-mgr-1,couchbase-occs-wkr-1].Completed creating service [couchbase] in domain [arungupta].Started operation to establish security on VMs for component [MANAGER].Completed operation to establish security on VMs for component [MANAGER]Started operation to establish security on VMs for component [WORKER].Completed operation to establish security on VMs for component [WORKER]Started operation to check provisioning status on the VMs for [MANAGER]Started operation to check provisioning status on the VMs for [WORKER]Provisioning Succeeded on all hosts for component [WORKER]Provisioning Succeeded on all hosts for component [MANAGER]Provisioning of [MANAGER] succeeded.Provisioning of [WORKER] succeeded.Provisioning of all components completed.Started service reachability check operation for [MANAGER].Started service reachability check operation for [WORKER].Reachability Succeeded on all hosts for component [MANAGER]Successfully completed service reachability check for [MANAGER]Successfully completed service reachability check for [WORKER]Reachability Succeeded on all hosts for component [WORKER]Service reachability check of [WORKER] succeeded.Service reachability check of all components completed.Service reachability check of [MANAGER] succeeded.Activity EndedActivity Ended
No timestamp in the activity feels a bit too clean (artificial?). - One main question that I kept wondering all along is “when am I ready to deploy the containers?“. Apparently, not yet! A couple of more steps so hang in there … In your service, click on the top-right icon to select another menu:
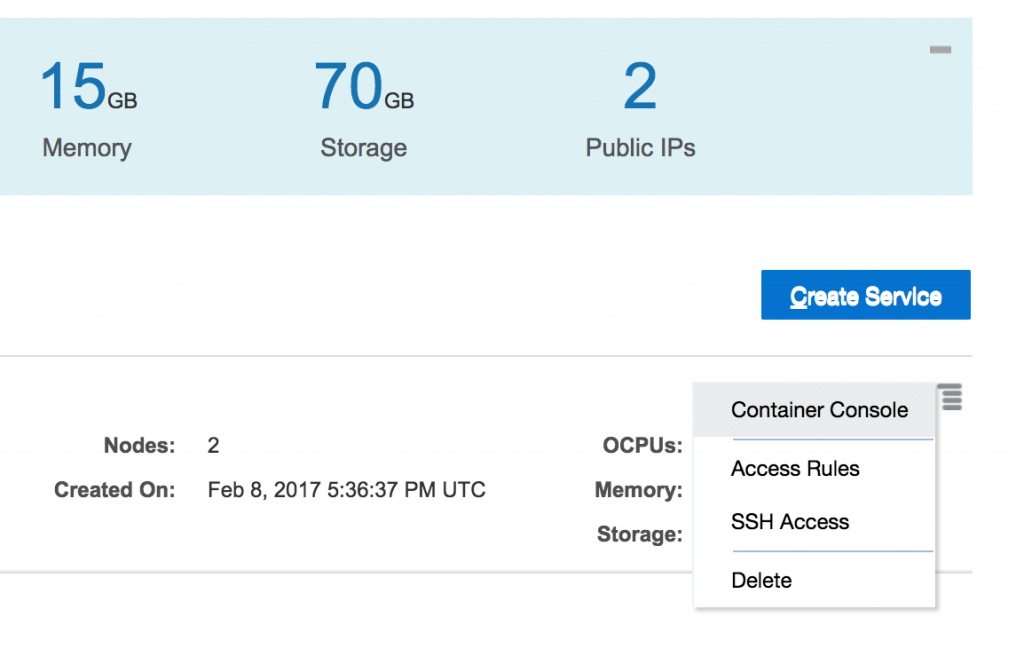
SelectContainer Console.
So, now you are transitioning fromOracle Container Cloud Service ConsoletoContainer Console. Make sure to use the right terminology otherwise it gets confusing fast. - This attempts to open Container Console but prompts the usual warning
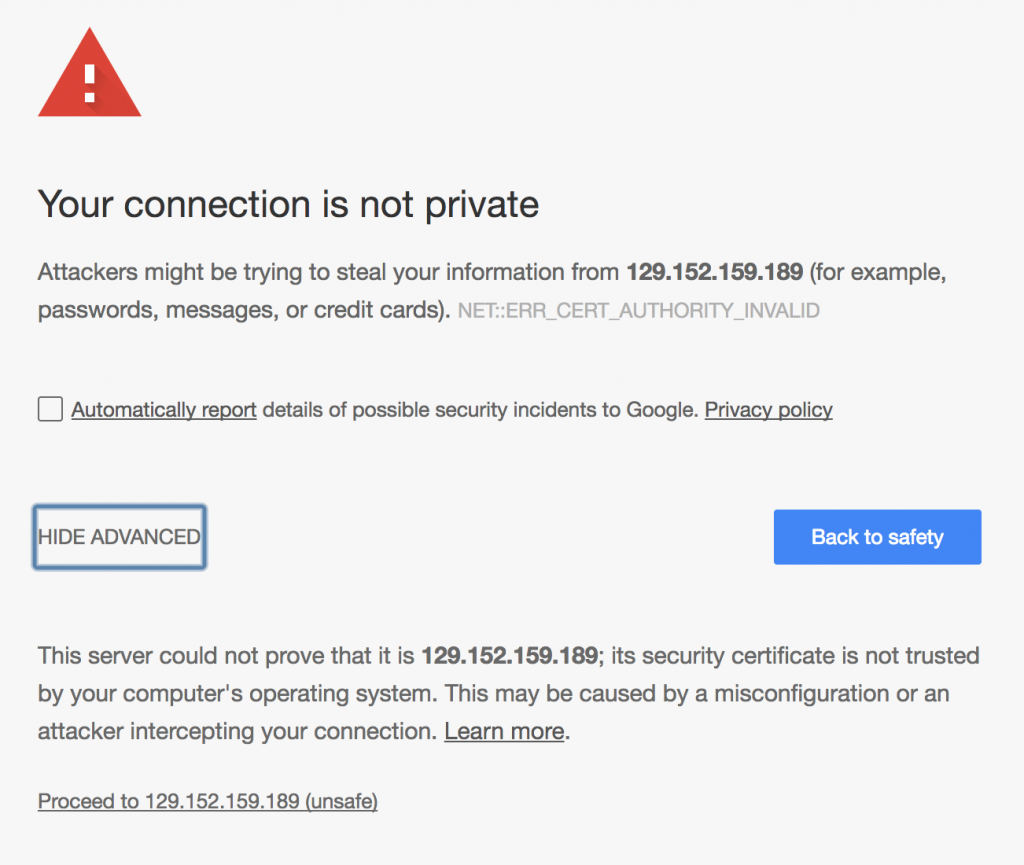
Just click onProceedlink. In a typical production setup, this will setup correctly using certificates and so this warning would not happen. - This brings up a login screen:
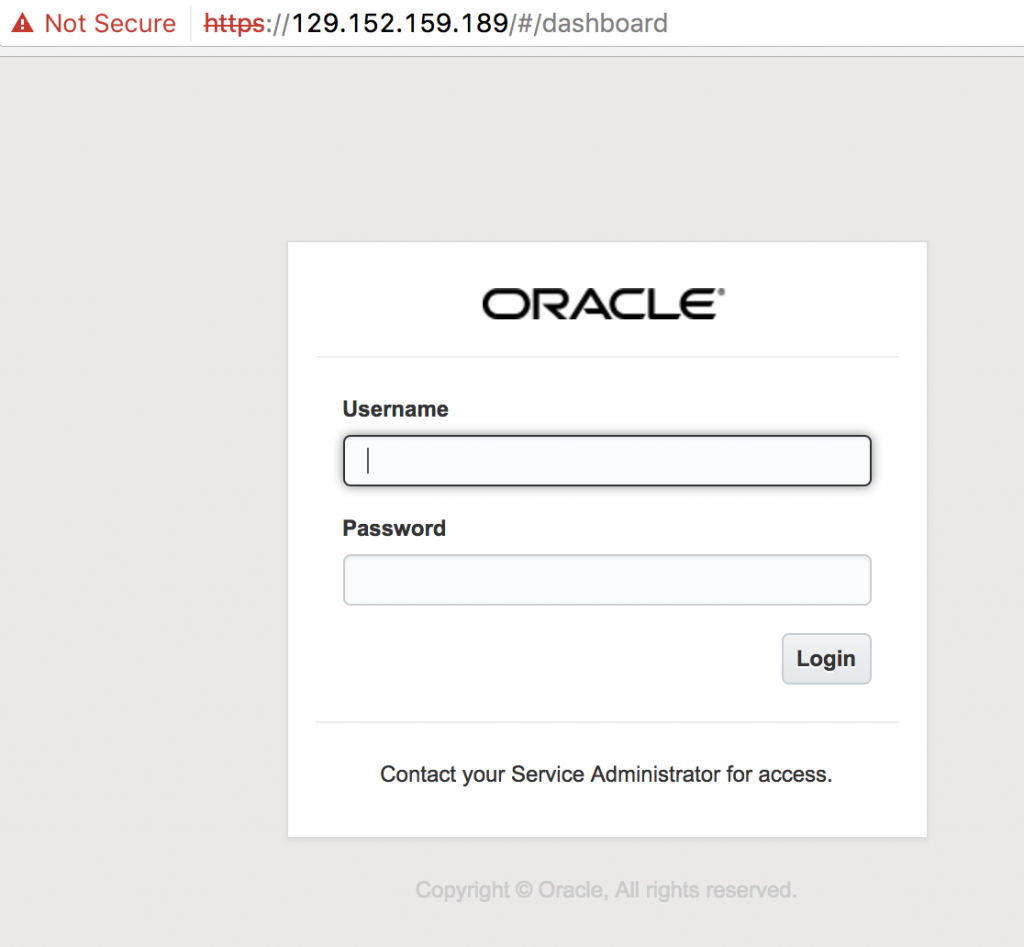
- Use the username and password specified during service creation earlier. Click on
Loginto see Container Console: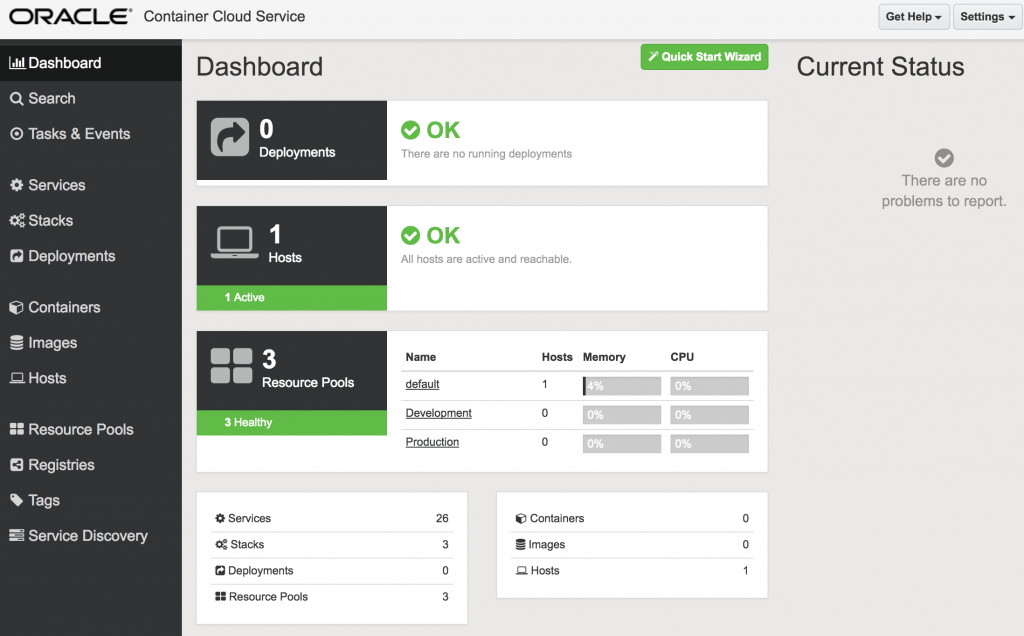
Are we there yet?
Yes, now is the time to deploy containers. But we’ll cover that in a subsequent blog!
Just to recap on what is needed to get started with Oracle Container Cloud Service …
- Register for Oracle Cloud trial
- Login to main Oracle Cloud Dashboard
- Create a Oracle Container Cloud Service Instance
- Oracle Container Cloud Service Instance Console
- Container Console
All the steps need to be done once but a console inside a console inside a dashboard feels like Inception. The good thing is that the IP address of Container Console is a public IP address served by Oracle Cloud and can be used from anywhere.
Oracle Container Cloud Service Docs have lot more details about building and deploying applications using this Console.
In the next blog, we’ll see what it takes to run a Couchbase container using this console? Possibly a cluster of Couchbase across multiple hosts?
Want to learn more about running Couchbase in containers?
[…] Getting Started with Oracle Container Cloud Service explained how to get started with Oracle’s managed container service. Well, the intent was to show how to get started but getting to “getting started” was itself quite involving. And now this blog will really show how to run a simple Docker container to Oracle Container Service. […]